I have a problem with spending too much time and money with Lego blocks, and unfortunately I had not completed rehab by the time Halloween rolled around. So inspired by some other crazies on the internet, I went about creating my own life-sized Lego minifig costume. Even though I do not have a single artistic bone in my body and had not done any similar project before, I undertook this endeavor. This page will not be a HOWTO on making your own costume though. I turned mine out despite a dearth of artistic ability and only a low resolution picture to guide me. Besides there are much better minifig costumes if you search for them.
 Inspiration | 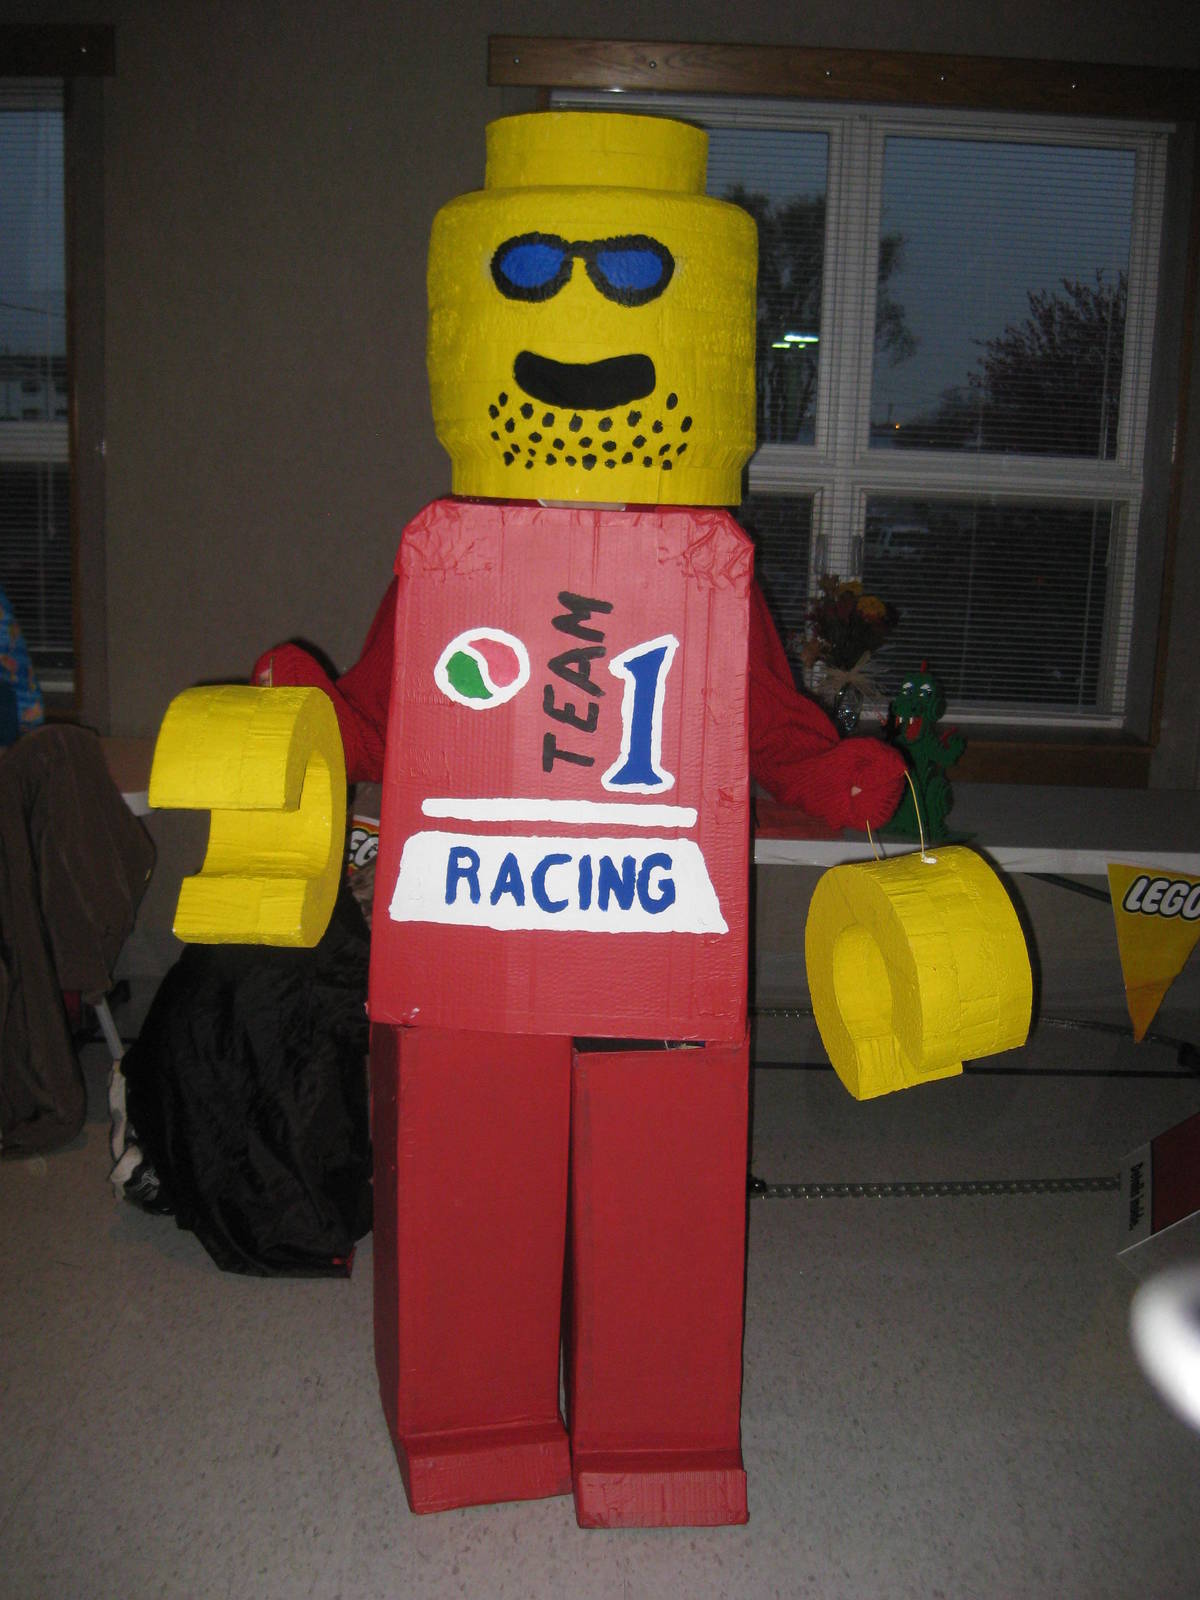 Implementation |
When my monster finally came to life, he got around. I won best costume at the local race Muddy Monster, as well as handing out candy in it both at my church and at home. Although a couple children were frightened by the giant red person, most were amazed at the giant Lego dude (at least those that did not think I was a robot). It was really nice to see their smiles and looks of wonder. The giant red Lego person also popped up unofficially at several FLL tournaments, providing no additional educational value, but still a nice diversion. When not on tour, the beast’s head sits in magnificent splendor atop my carpet covered box at work, demanding fear and respect from all its minions.
For some overall details, my arsenal to create this monster consisted of cardboard (some even sourced from boxes in which Lego sets were shipped), Styrofoam, duct tape, paint, and glue. I used a free refrigerator box from a home improvement store and a 8′x4′ sheet of cheap Styrofoam insulation. The costume only contained about $30 to $40 in consumable materials. I had to spend a little more though since I did not have any painting or Styrofoam carving materials beforehand. I invested a lot more sweat equity into the project, spending the late nights for the better part of a week making my creation come to life. Someone skilled with crafts could have made this a lot quicker, and probably made it look better as well. I also failed to do much preplanning, and just dove into cutting things. This execution led to some proportions being wrong (such as the head is too big), but things turned out pretty well considering my haphazard approach.

The head is made of Styrofoam. Rings were cut from the foam sheet, stacked on top of on another and painted yellow. It took quite a few coats of paint for it to look right. I used a brush, but a sprayer would have been easier, faster, and looked better. Chopped up coat hangers run vertically throughout the head to connect the different layers of foam. The edge of the head is a little rough, as I could not sand the Styrofoam very smooth. Perhaps a different type of insulation or wrapping it in poster board as others had done would have helped.
The mouth is cutout and what the wearer sees through. A light mesh is stretched across in the inside of the mouth to keep the illusion of the character, but still provide adequate vision. The rest of the face is regular art paint, applied to give the character a cool pair of shades and a five o’clock shadow.
Being as the head is made from insulation, and I did not install any venting, it can get very hot. At least October is not the warmest month in the Midwest, but I worked up a sweat donning it inside. I now feel slightly more sympathy for the poor fools that wear the Disney costumes in the Florida heat.
The head also just sits freely atop the body. Some kind of connection or chin strap would have been useful though, as it tended to bounce around or fall off if I moved much.
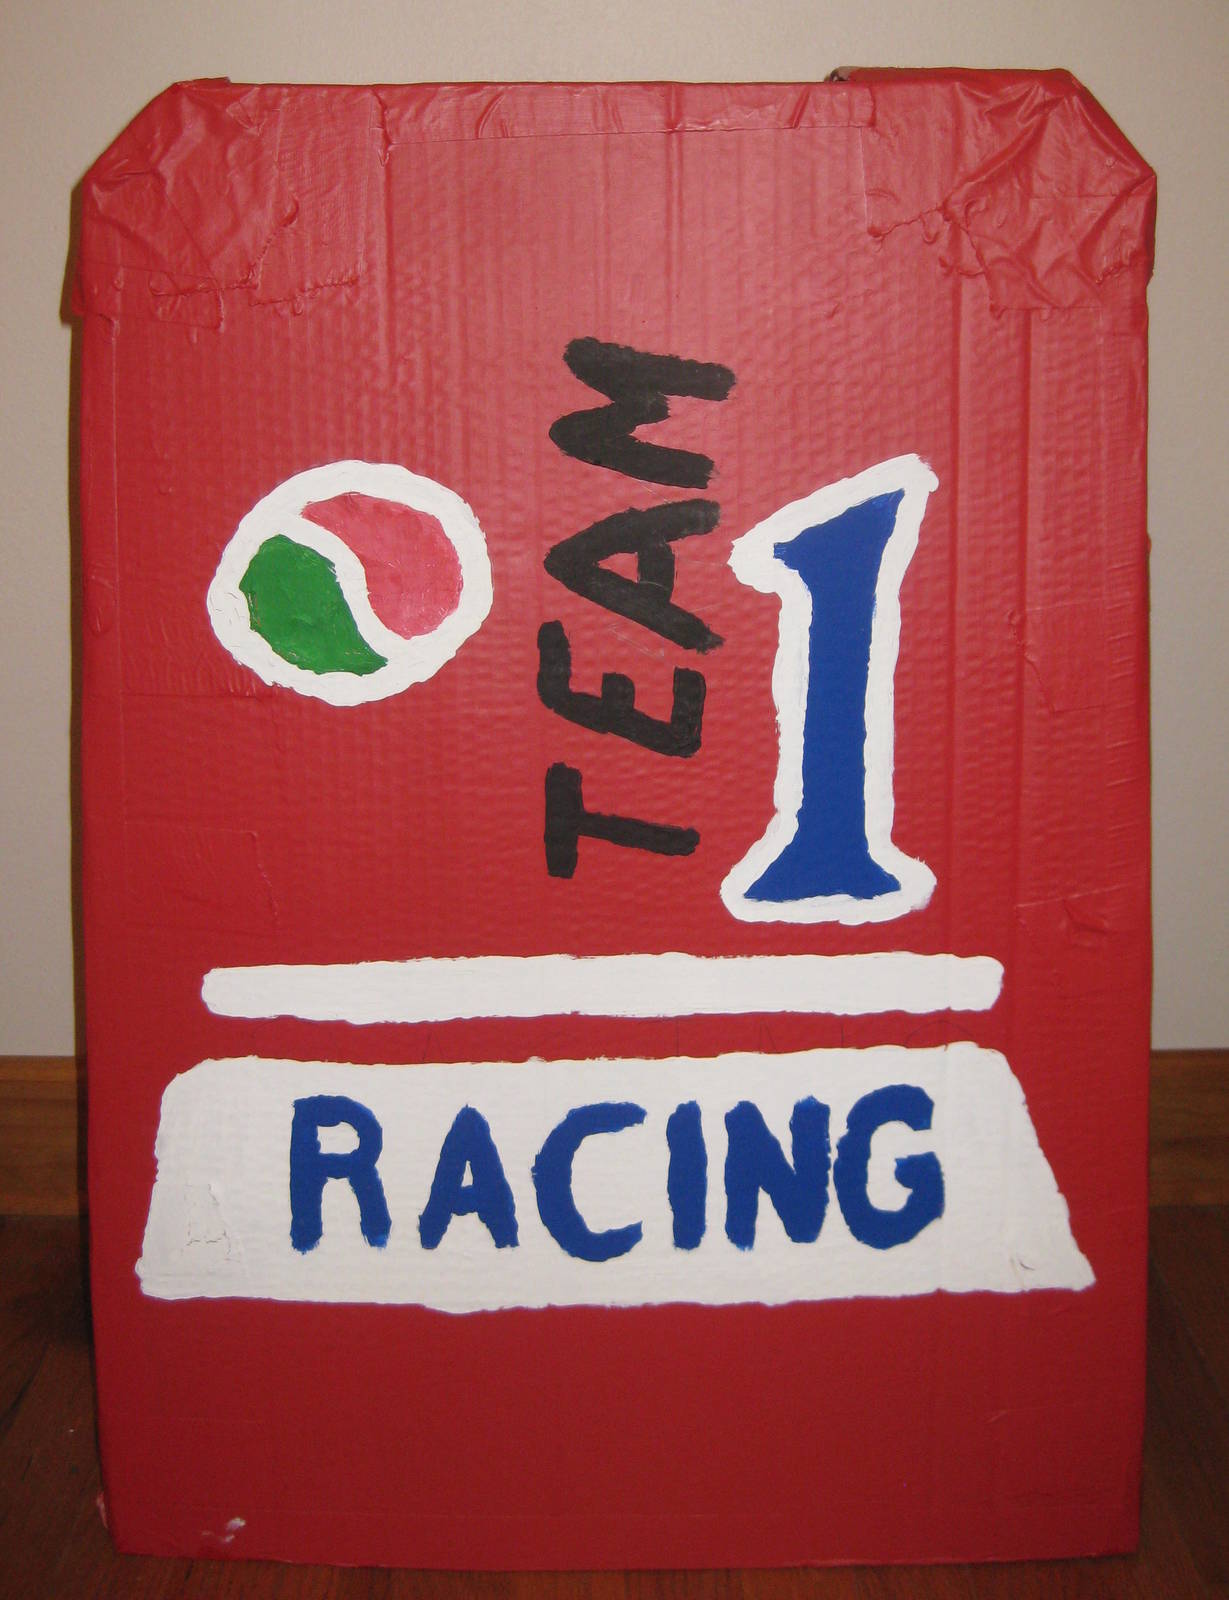 | 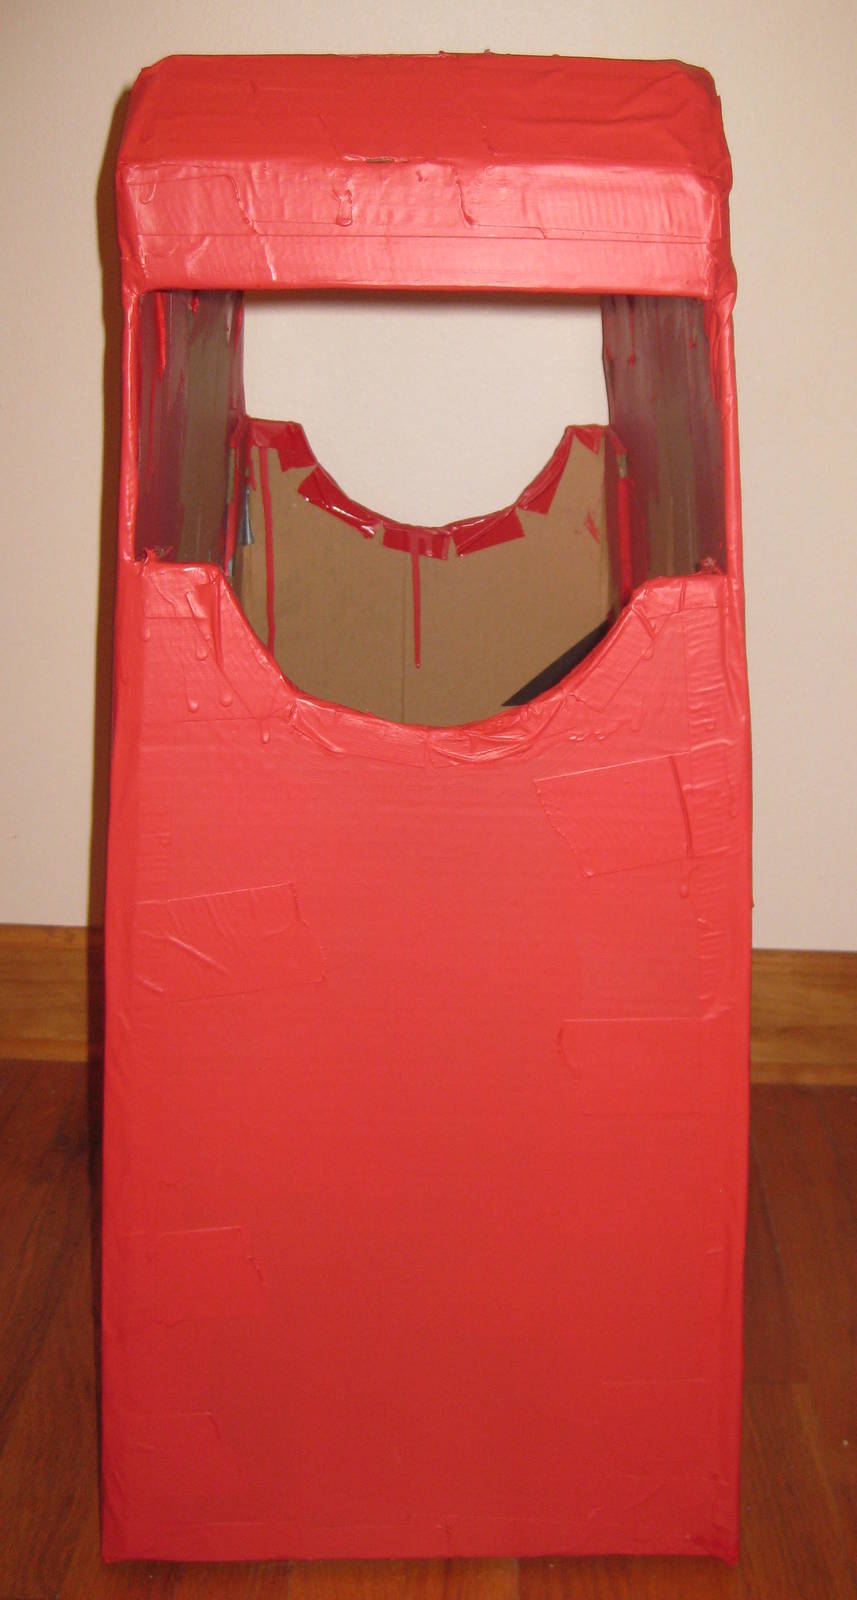 |
The body is made entirely from cardboard, cut into the shape required, connected with tape and glue, and painted appropriately. It is a little bit of a pain to get on and off, but fits well once in place. I wore a red sweater underneath to make the arms match (which also made the costume even hotter), as using cardboard would have been exceedingly difficult and the resulting arms would not have moved well. The paint scheme is lifted from a real Lego minifig, and created with regular artist paint (And yes, the blue “1” should be bigger)
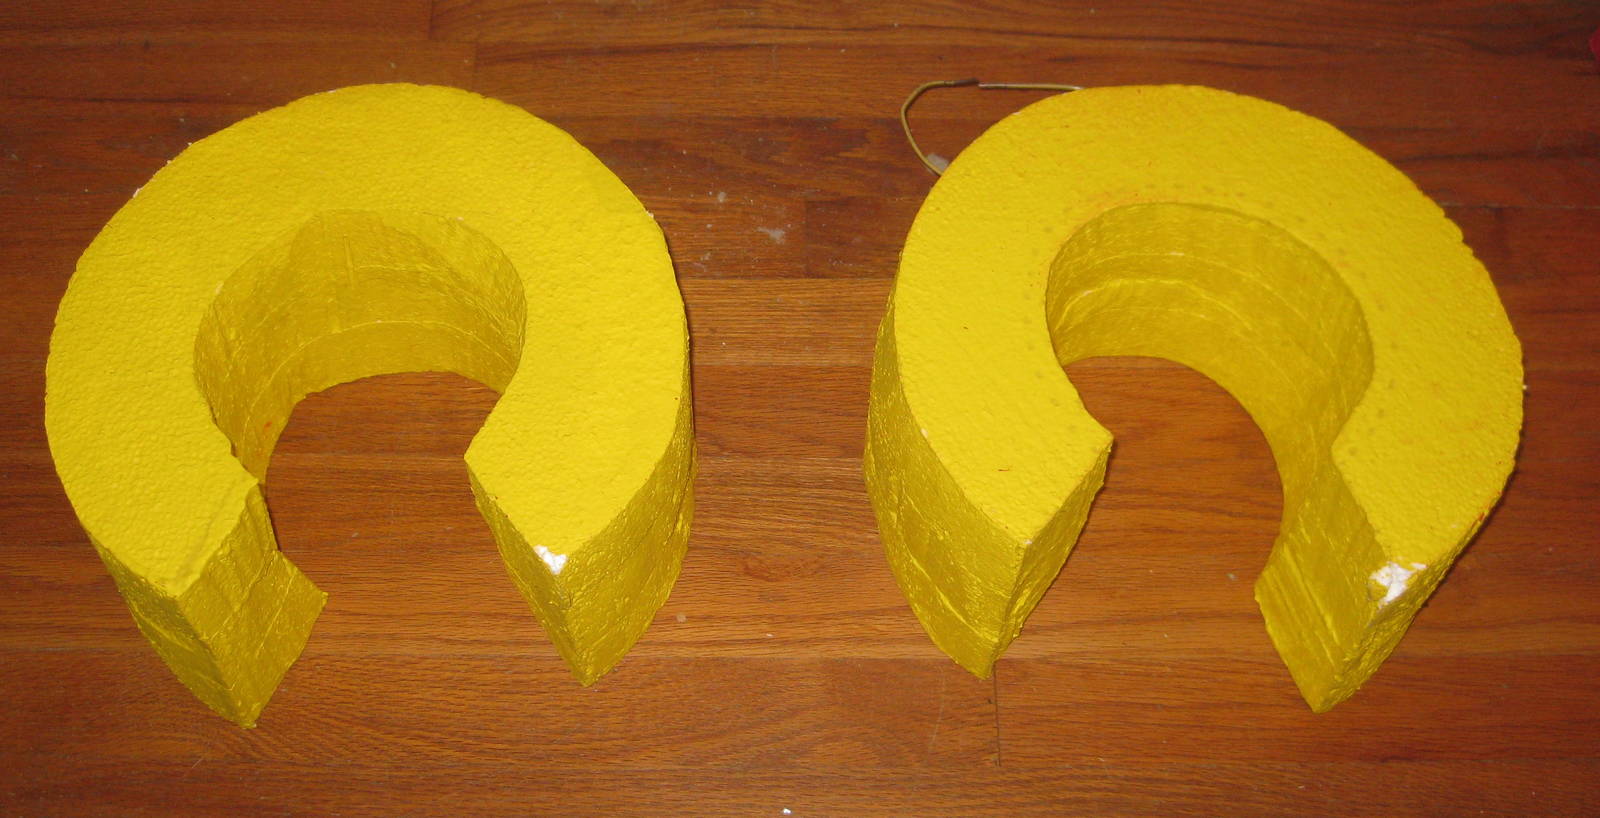
The hands are made out of Styrofoam, same as the head. In fact, the hands are actually the inside portion of the rings from the head. It worked out that the pieces removed from the inside of the foam Lego head (where my real head went) were just about the right size for the hands. This saved on Styrofoam, as well as cut down on the work required. With just a little more cutting, glue, and paint the hands readily came to life. I did not have a very good way to hold them though. I looped clothes hangers through the foam for me to hold, but they had a tenancy to flop around.
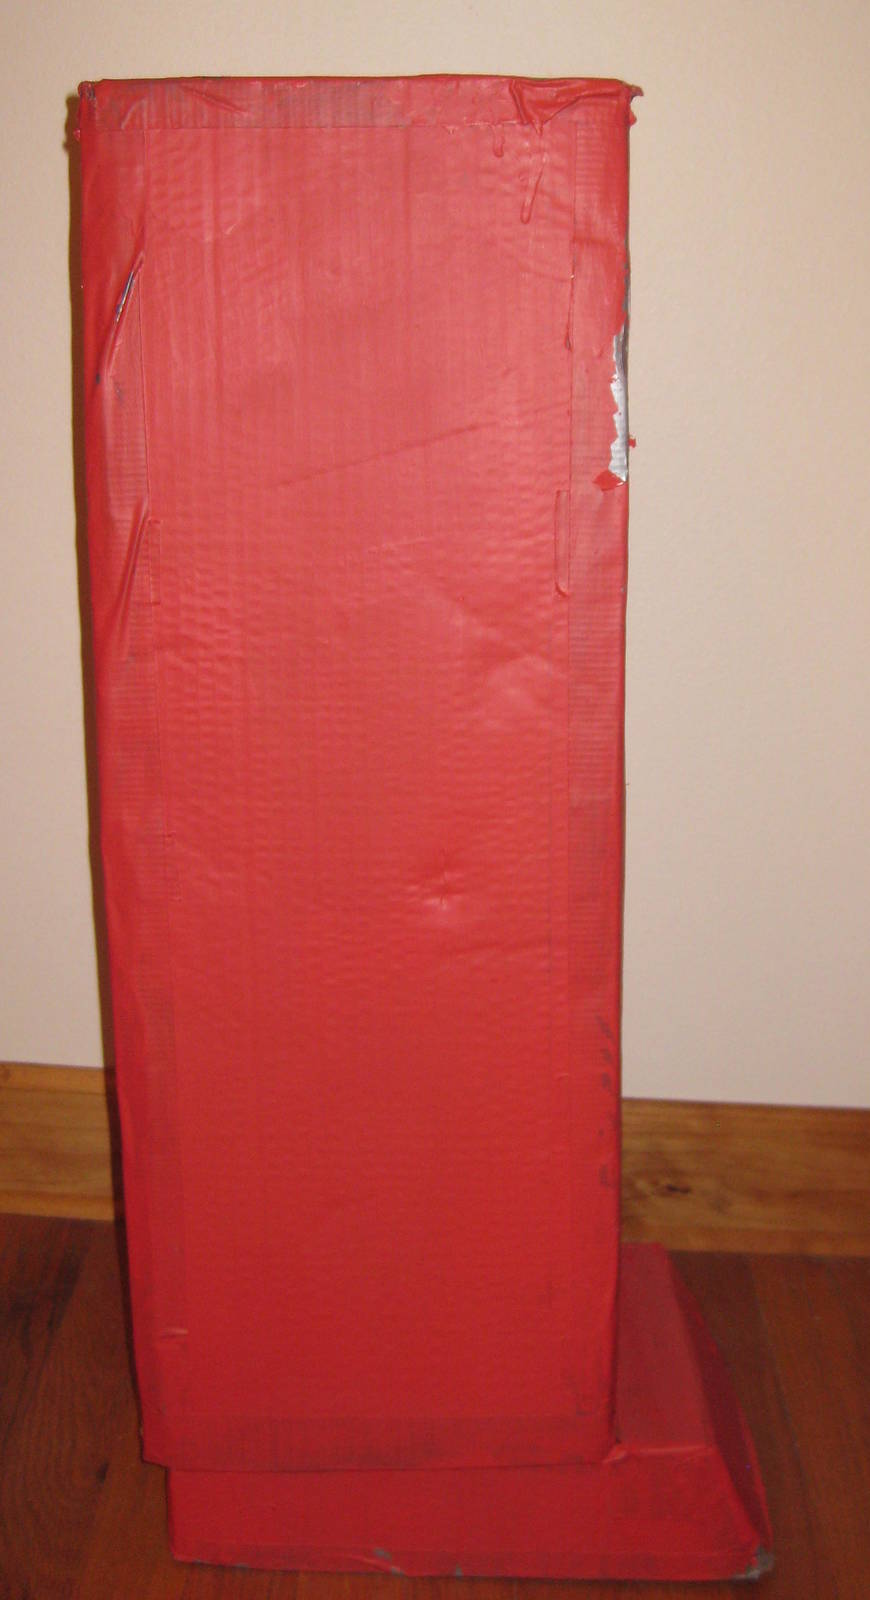 |  |
The legs are more cardboard, paint, tape, and glue, but were substantially more work than the body. A four sided long box could have sufficed, but I wanted more detail than that. The feet are shaped and tapered close to that of a real minifig, and fit nicely over my shoes. I also depressed holes in the back of the legs to create the female end of the Lego stud connector. Those seemingly minor additions were a lot of extra, mostly unappreciated work, but the details were worth it. The only thing missing (because I ran out of time) are the bumps usually on the top of minifigs’ legs.
I attached ropes to the legs, which were routed through the body and over my shoulders. These held the legs in place and kept them from dragging on the ground. Still, it was nearly impossible to walk in the thing, with movement reduced to a slow waddle. To be more practicable, a gap or a hinge between the legs and the body would be needed.